Recipe — Set up an e-commerce space
If you sell physical products online or in stores, a generic CRM setup fights you at every step. This recipe sets up a space tuned for selling: the right vocabulary, product statuses instead of a sales pipeline, and cost types like COGS and marketplace fees ready to go. By the end you’ll have recorded your first sale.
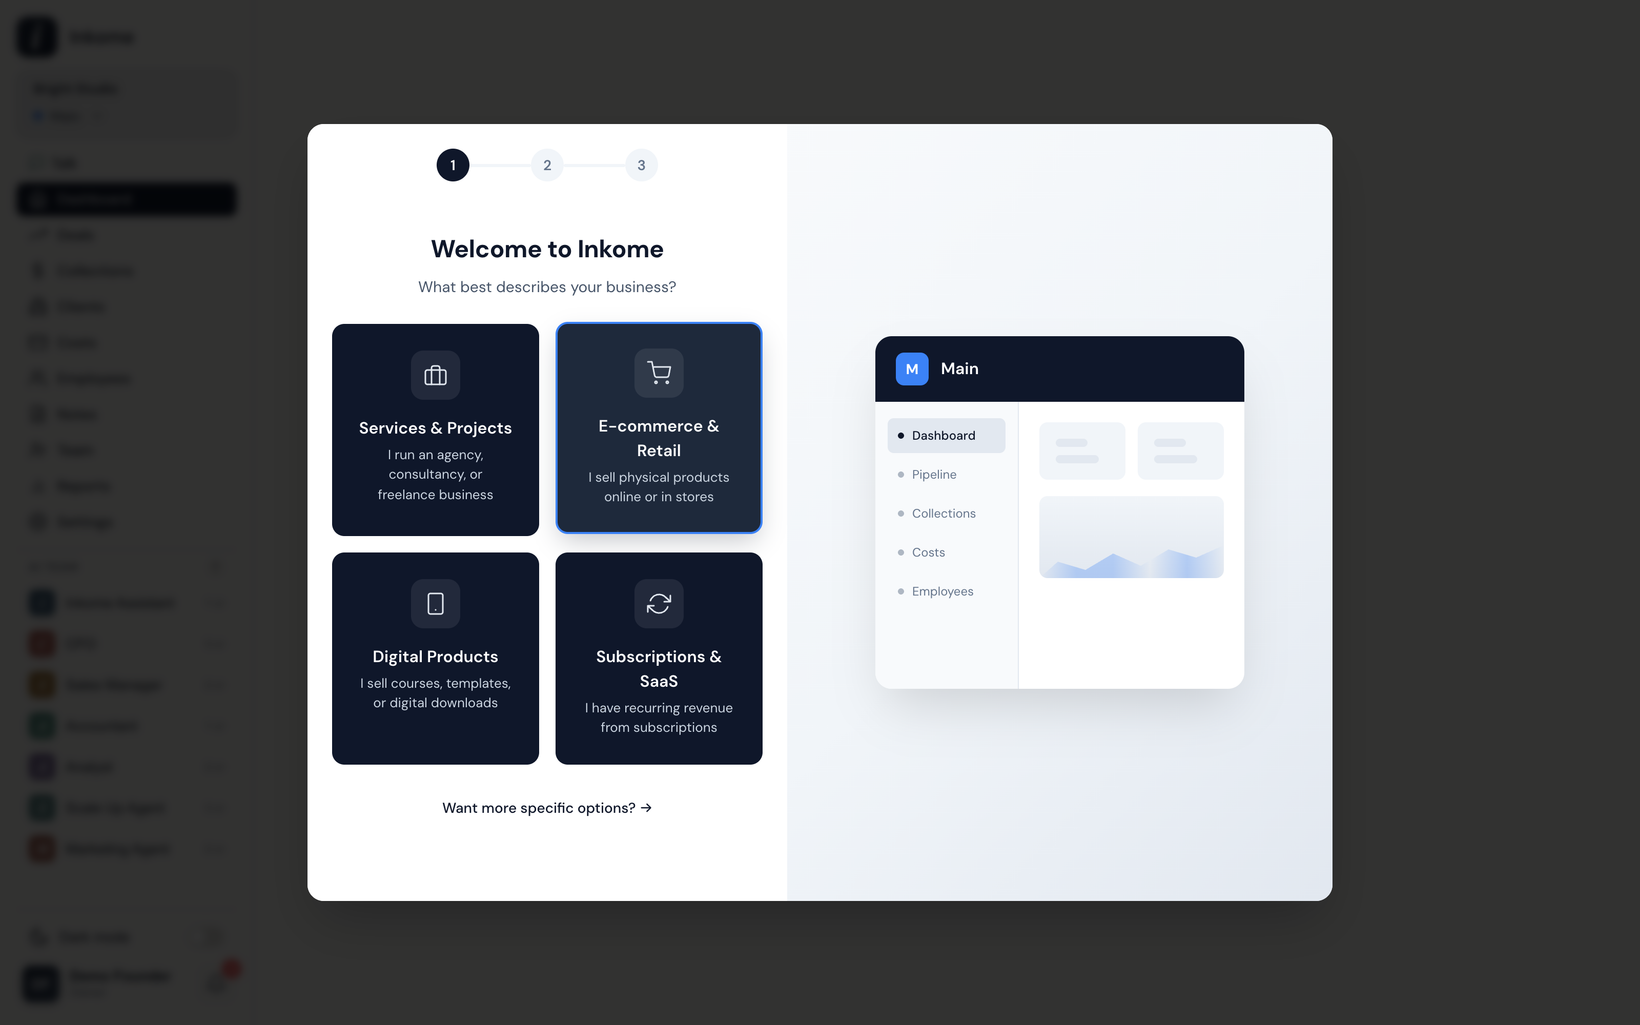
Step 1 — Create the space and pick E-commerce & Retail
- Start a new space from the onboarding wizard (or the space switcher if you already have one space).
- On the business type step, choose E-commerce & Retail — the one that says “I sell physical products online or in stores.” See Business types.
Picking this type reshapes the whole app: your records become Products, money coming in becomes Sales, the pipeline view becomes a Catalog, and the value figure becomes Revenue. (Full mapping: Business-type terminology matrix.)
Step 2 — Choose an industry (optional)
After the type, you can either go ahead with the type’s general defaults or drill into a closer-fitting industry. Under E-commerce, the Manufacturing industry is available for production and B2B work; if none fits, the general E-commerce & Retail defaults are a fine starting point.
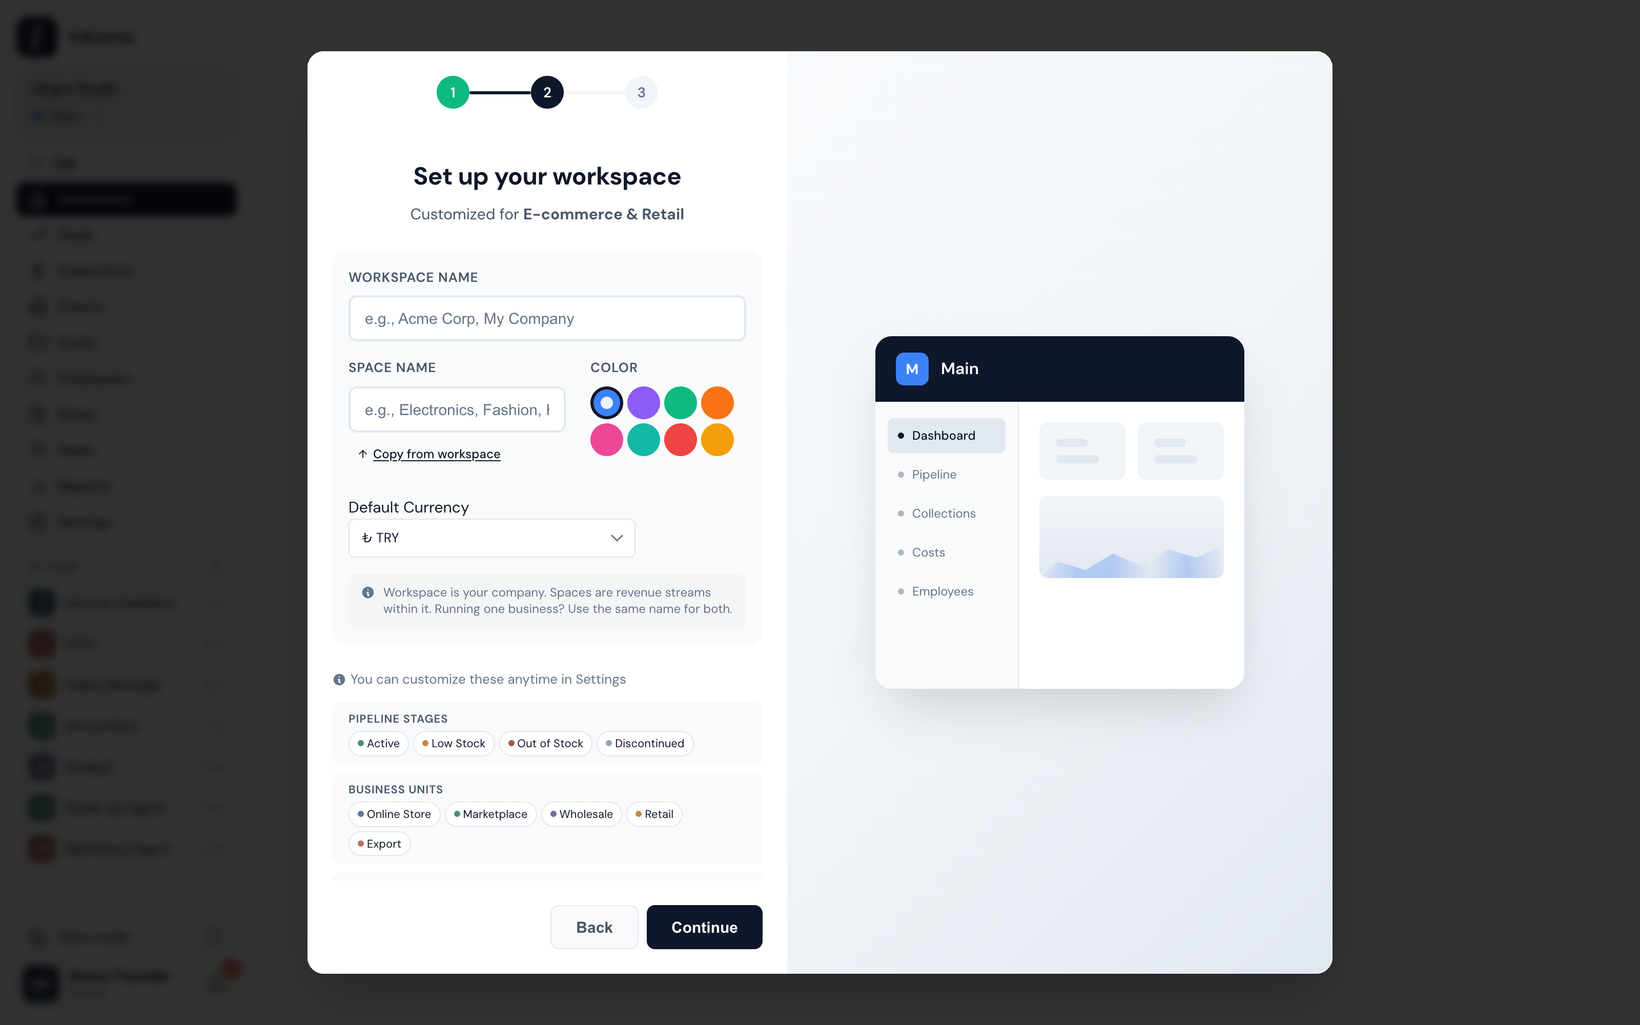
Step 3 — Review the auto-generated defaults
Inkome pre-populates the space so you don’t start from an empty screen. With the general E-commerce & Retail defaults you get:
| What | You get |
|---|---|
| Statuses (its stages) | Active, Low Stock, Out of Stock, Discontinued |
| Units (channels) | Online Store, Marketplace, Wholesale, Retail, Export |
| Cost types | Personnel, COGS, Shipping & Logistics, Marketplace Fees, Marketing & Ads, Warehouse, Packaging, Payment Processing |
Note that e-commerce uses Status rather than a sales Stage — a product is “Active” rather than “won”, and there’s no close date. You can rename, recolor, add, or remove any of these later in Stages & categories, Units, and Cost types.
Step 4 — Add your first product
- Open the Products page and choose Add Product.
- Fill the fields e-commerce shows: Platform (required — e.g. Trendyol, Amazon, Shopify), Unit Price, and Commission Rate. Set the Status (start with Active).
- Assign a Unit so the sale lands in the right channel (e.g. Marketplace).
Step 5 — Record your first sale
- From the product, choose Record Sales (the e-commerce label for recording income).
- E-commerce sales track more than a single number — fill what applies: Gross Sales, Platform Commission, Shipping Costs, Returns/Refunds, Units Sold, and the Sales Period. Inkome nets these into what you actually keep.
- Set the Payment Date and currency. A sale can be in a different currency from the product — see Multi-currency collections.

Step 6 — Plan ahead and watch the dashboard
- Build a Sales Plan (the e-commerce name for a collection plan) to forecast expected sales revenue per product.
- The dashboard adapts to e-commerce, surfacing widgets like Revenue by Platform, Commission Analysis, and Top Products instead of a sales pipeline.
That’s the stream set up the way an online seller actually works — keep what fits, change what doesn’t.
Prev: Recipe — Forecast cash flow with the CFO agent Next: Troubleshooting & FAQ Up: User guide index